|
|
|
|
|
|
 |
 |
|
|
 |
Frye Wainscoting
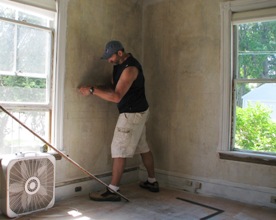
What is currently a "Den" under renovation by the homeowner, has now reached a stage where I step in and will be installing a "paneled" wainscoting detail as well as crown moulding. I will also be installing "picture framed" details in four areas of the room above the wainscoting detail to the East and South walls. The ornate moulding used for the chair rail and picture frame work was provided by Inviting Home.
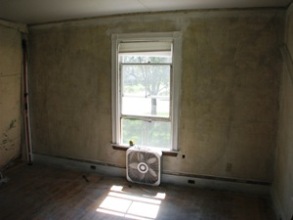
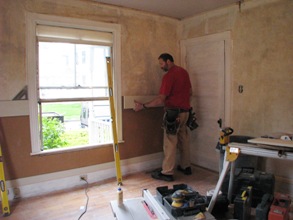
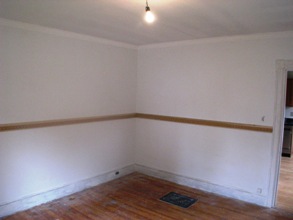
East wall before work begins View #2
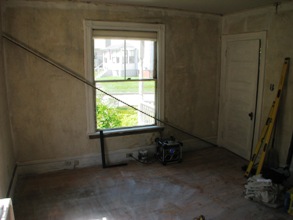
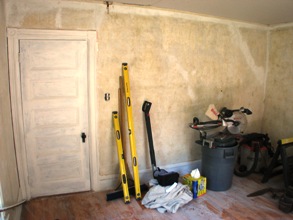
South wall West wall
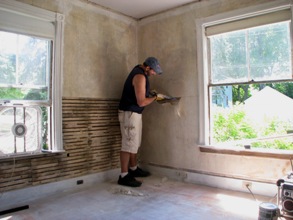
View #5 Cutting plaster at 4'-6" mark
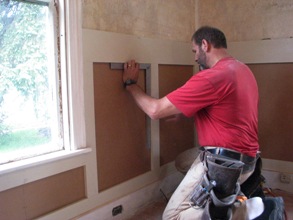
Time to remove plaster for 1/2" MDO MDO will provide a smooth panel look
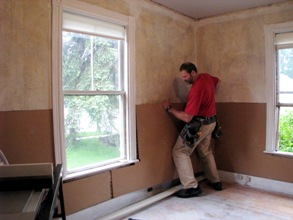
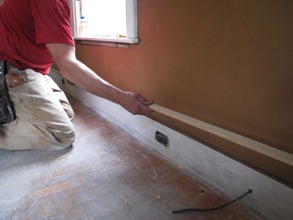
Installing a bull nose strip over baseboard Trim work begins
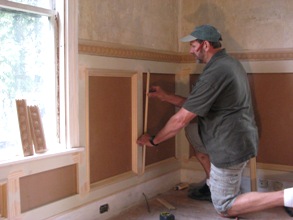
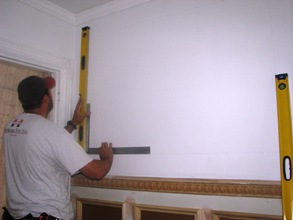
By squaring the trim, it'll make for easy trim work Installing the panel moulding detail
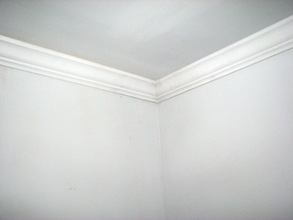
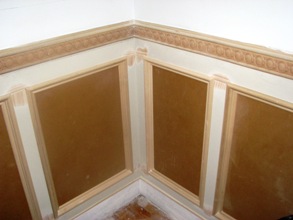
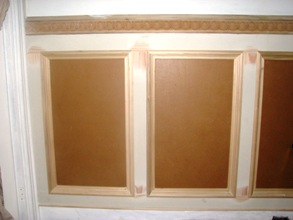
Crown moulding in place Details of paneled wainscoting
View #2 View #3 and ready for painting
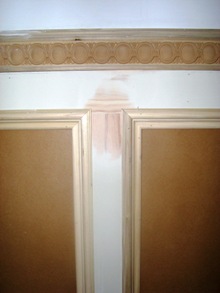
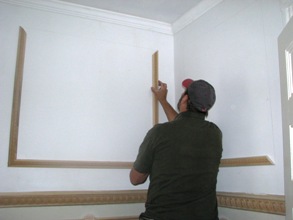
Squaring up for picture frame trim detail Picture Frame trim detail begins
Before and After Photo's
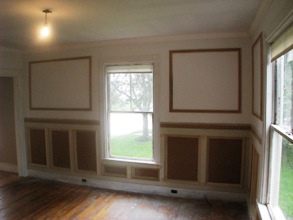
Final product: View #1 Now! View #1 "Before"
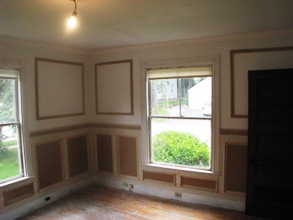
Final product: View #2 Now! View #2 "Before"
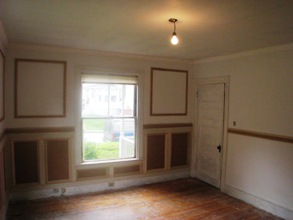
Final product: View #3 Now! "Before" (the line is old trim leaning up btw...)
Final product: View #4 Now! (just chair rail here) View #4 "Before"
|